
 English
 Español
How to Choose Foodservice Portion Bags That Work on the Line
The scale says the portion is right. Then the scoop snags on the bag mouth, the food crowds the closure, or the filled bag won't lie flat in its tray.
A measured portion is a number. A usable bag is one you can load, close, carry, and open at the line. Catalog specs rarely tell you which one you're buying. This guide covers how to pick size, closure, and film for foodservice portion bags used from prep to service, and how to test samples before you commit to a case.
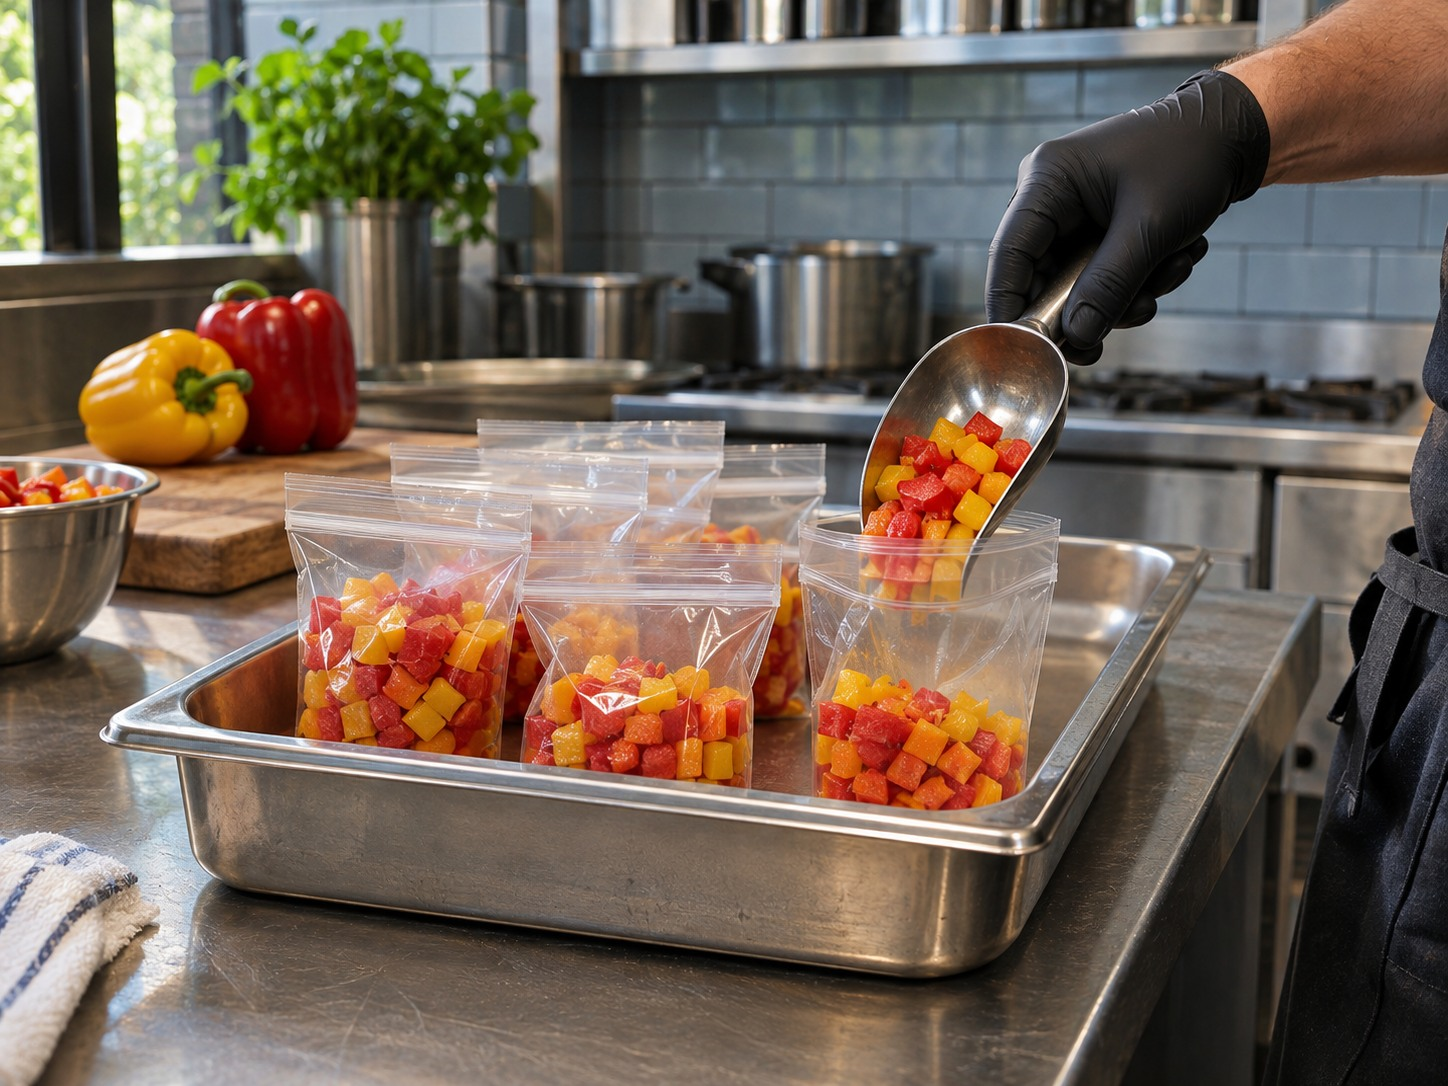
Four things to check on any bag
Treat the catalog capacity as a starting point. What counts is the space you can actually use:
- Clear opening with the closure in place. Can your scoop or hand get in? The flat width on the spec sheet doesn't tell you.
- Usable depth below the closure. Food sitting in the closure area stops the bag from sealing.
- Room left to close. After loading, you need clean headspace at the top.
- Fit in your tray. A filled bag has thickness and a footprint. Try it in the real tray or pan.
If the bag gets opened repeatedly at a service station, add two more: can the serving tool reach the food, and does the closure re-engage after every withdrawal?
Pick the closure by how many times the bag gets opened
|
How the bag is used |
Closures to look at |
Why |
|
Filled at prep, opened once at the line (diced peppers, a counted set of rolls) |
Fold-over/flip-lip or press-to-close |
It never needs to reseal. Fast filling and a clean empty matter most. |
|
Opened several times at a station (shredded carrots, garnish) |
Press-to-close zipper or slider |
It has to re-engage after each pull, with real food residue and real gloves. |
How the three compare in practice:
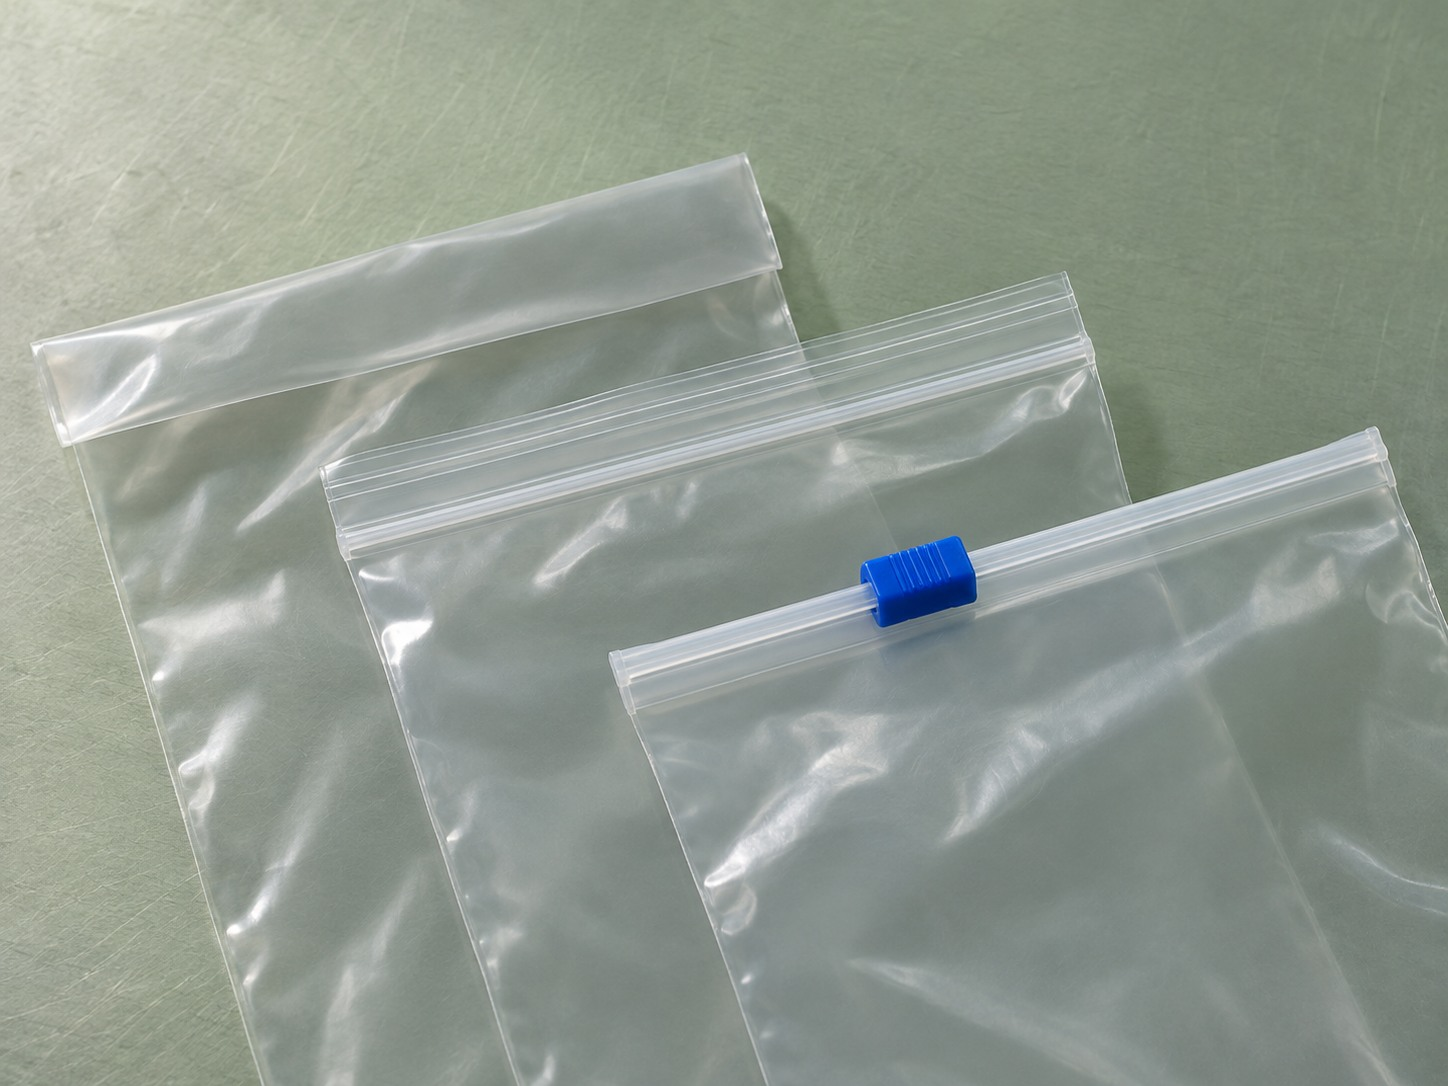
- Fold-over/flip-lip: quickest to fill and open. It holds by folding rather than locking, so check it survives the trip in the tray. Not meant for repeated use.
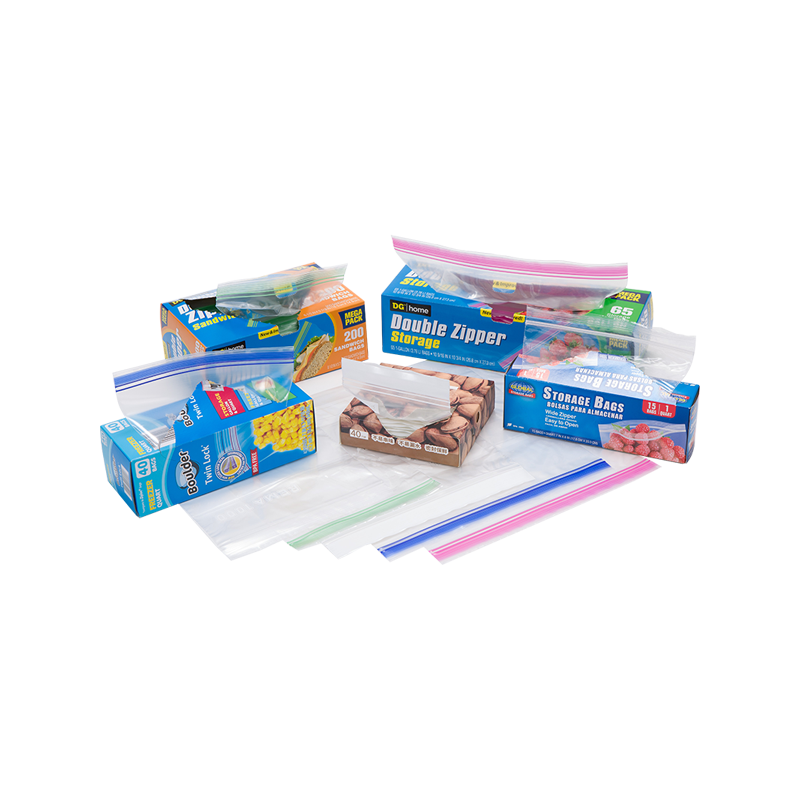
- Press-to-close zip seal bags: familiar and usually the lower-cost option. Crumbs or moisture in the profiles can stop it from engaging, so run a finger along it after loading.
- Slider bags: you pull a tab instead of lining up two profiles, which many cooks find easier with gloves or one hand. The track can collect food, and sliders usually cost more per bag. Test with your gloves on.
If a closure fails and you're not sure why, Huayue's closure troubleshooting guide walks through the common causes.
Size the bag from the portion
Start with the portion in the units your kitchen already uses, then convert it to volume for a ballpark. As a rough guide, USDA reference data puts chopped bell pepper at about 149 g per cup and shredded carrot at about 110 g per cup. Your cut size and packing will move these numbers, so weigh your own food. On that basis:
- 4 oz (113 g) of diced peppers is roughly ¾ cup
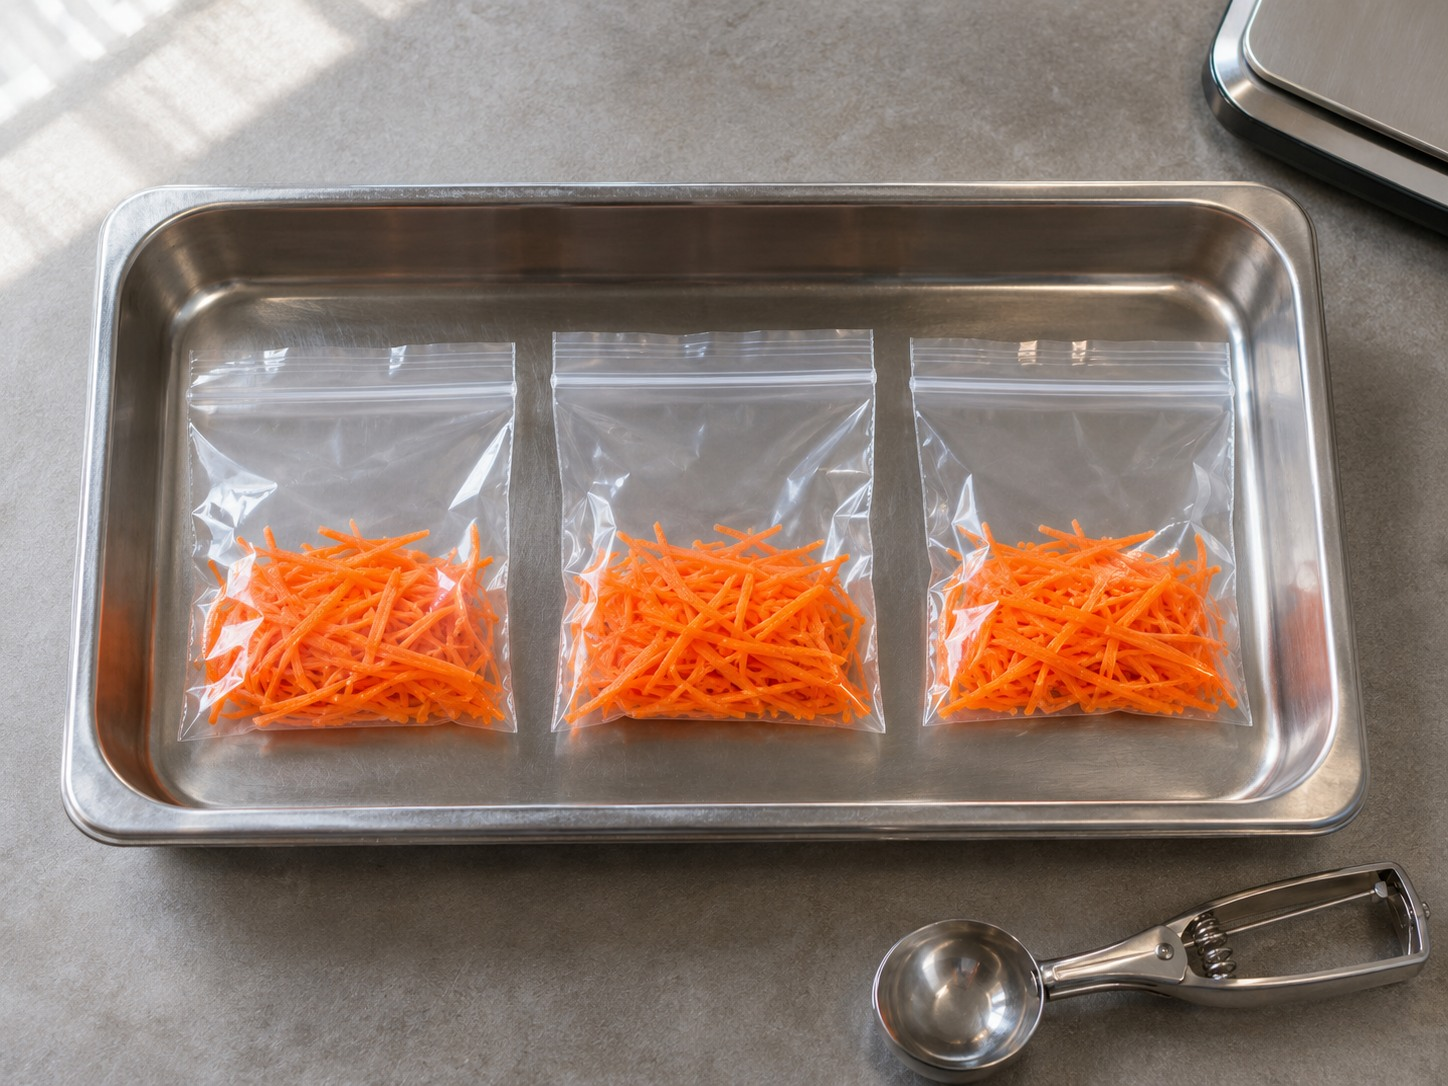
- 4 oz of shredded carrots is roughly 1 cup
- Counted items like soft rolls are sized by the largest piece and the count, not by volume
Then measure what the bag really holds. Fill an empty bag with water up to just below the closure and pour it into a measuring cup. That's the usable capacity, and it's often lower than the number on the label.
As a starting rule of thumb, the portion should fill about half to two-thirds of that usable capacity, so the bag closes without squeezing the food. Adjust after sampling.
Example: a ¾ cup portion of diced peppers divided by two-thirds to one-half points to roughly 1⅛ to 1½ cups of usable capacity. If a bag in that range still snags the scoop, the problem is the opening, not the volume.
This guide assumes damp-but-not-liquid foods. For sauces, marinades, or anything with free liquid, ask the supplier about leak testing separately.
Film: material and thickness
Most foodservice portion bags are polyethylene (PE) film, but ask which one you're getting. Three things matter at the station:
- Thickness (quoted in mil or microns). Most light-duty prep bags run around 1.2–1.5 mil (30–38 microns)—thin enough to open easily with gloves, yet sturdy enough for soft produce or sliced meats. Step up to 2 mil (50 microns) or higher for sharp-edged, heavy, or frozen items; heavier film resists punctures and holds its shape in a tray, though it feels stiffer at the mouth.
- Temperature range. Confirm the bag is rated for how you'll use it: fridge, freezer, or neither. Don't assume hot-filling or reheating in the bag is fine unless the supplier confirms it for that exact model.
- Clarity. Clear film lets staff see contents at a glance and cuts down on opening bags to check.
Labels and date marking
Back-of-house bags usually need the item, prep date, and use-by date on them. Ask whether the bag has a write-on panel, and whether marker or label stays put on a cold, damp surface. The easy test: label a sample, leave it in your cooler overnight, and see if it's still readable and attached. Check your local health code for date-marking rules on prepped foods.
Run a short sample test
You can do this in one prep session:
- Fix the portion. Weigh or count it exactly as the kitchen does.
- Keep everything else the same. Same food, same scoop, same tray, same gloves for every sample.
- Run the full sequence. Fill, close, carry it in the real tray, then open (and reclose, if that applies) at the station.
- Write one line per sample. Bag size or model, usable capacity from the water test, and what happened at each step.
Watch for four things: the scoop clears the opening, food stays out of the closure, the filled bag lies flat in the tray, and staff can finish the sequence without fighting it.
Turn what you see into a request for the supplier
|
What happened |
What to ask for |
|
Scoop snags at the mouth, but the portion fits below the closure |
A wider usable opening |
|
Portion crowds the closure after loading |
More space below the closure, or the closure placed differently |
|
Closure won't re-engage with residue or gloves |
A different closure type |
|
Filled bag doesn't fit the tray |
A different width or length |
|
Marker or label won't stay on |
A write-on panel, or a different film surface |
If the problem isn't on this list, note the exact step where it failed and revise your requirement before ordering.
What to ask the supplier before you order
- Dimensions for the exact bag: width, length, and usable depth below the closure
- Film material and thickness
- Rated temperature range for that model: fridge, freezer, and whether hot-fill is supported at all
- A food-contact compliance statement for that exact model. In the US this usually means the film, closure or slider parts, and any inks are covered under FDA food-contact rules (polyethylene film generally falls under 21 CFR 177.1520). If you sell outside the US, ask for the local equivalent, such as EU Regulation 10/2011 for plastics.
- Minimum order quantity, sample lead time, and available pack sizes
Tell the supplier what you actually do: which food, what temperature you fill at, and how long it sits in the bag. Pass the documents to your quality team before the first full order.
Request samples from Huayue
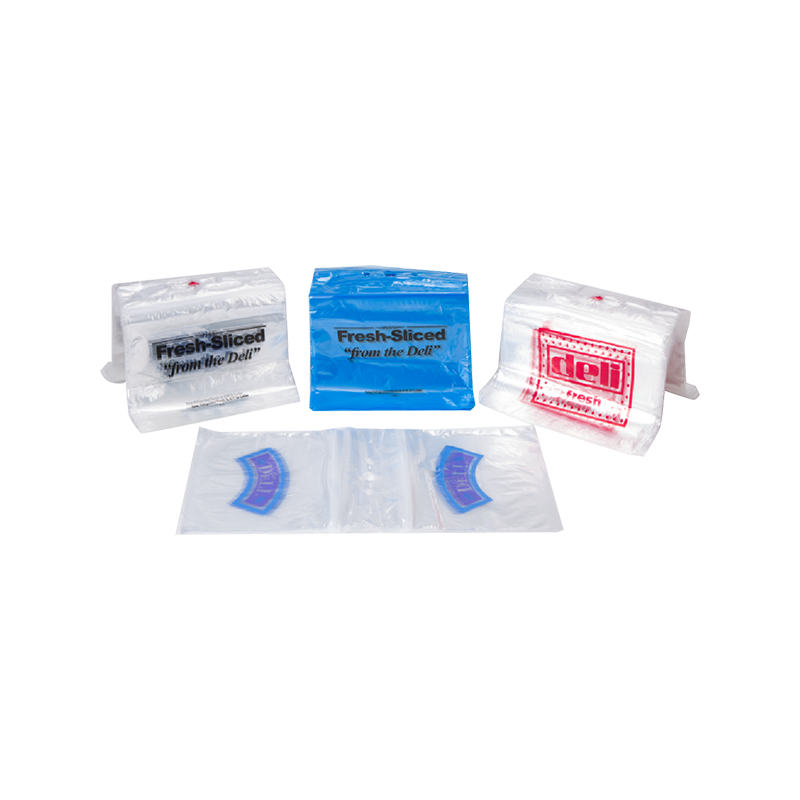
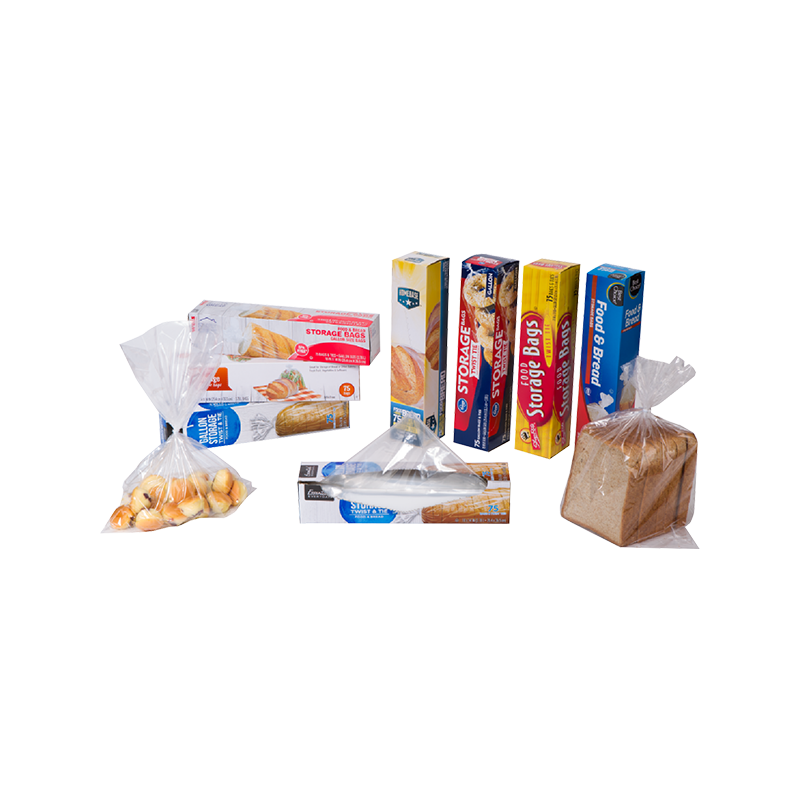
Huayue's food packaging catalog lists Zip Seal Bags, Slider Bags, and Sandwich Bags. Treat these as families to sample, then confirm exact dimensions and closure options for the specific bag.
To get useful samples fast, send a short brief with:
- The food and measured portion
- Your filling tool and tray size
- Fill temperature, hold temperature, and how long the food sits in the bag
- The sequence: close, carry, open, and reclose if needed
- Any labeling needs and the quantity you expect to order
Use the Huayue contact page or email alfredren@huayuepack.com.
Packing Solutions
Related Products

Tel: +86 18019228135
E-mail: alfredren@huayuepack.com
Address: No.228 ZhaiXing Rd, XinSheng Industrial zone, ZheLin Town, FengXian District, ShangHai, China.

Copyright © 2026 Huayue Group Plastic Packaging Manufacturers
