
 English
 Español
Downgauging a Plastic Bag: What to Check Before You Approve a Thinner Film

A quote for a thinner bag usually comes with one headline number: a lower price. What it rarely mentions is whether that bag will still get your merchandise from the checkout counter to the customer’s car in one piece.
The film gauge is only part of the equation for custom plastic shopping bags. Your handles, side seams, counter opening speed, and packing routine all depend on film stiffness and strength. Shave a few microns off the film, and you change how every single one of those performs.
This guide is for retail packaging buyers—across apparel, stationery, gifts, cosmetics, and accessories—who have been pitched a thinner version of the custom plastic shopping bags they already use. We won’t give you a magic micron number here, because that depends entirely on what you sell and how rough your packing routine is. Instead, the checks below will help you find your own floor, calculate the true cost after breakage, and know when a thinner spec is actually worth saying yes to. (Note: We are focusing on dry retail goods here; food, liquids, freezer, and medical packaging play by much stricter rules.)
Start by Measuring the Bag You Have Now
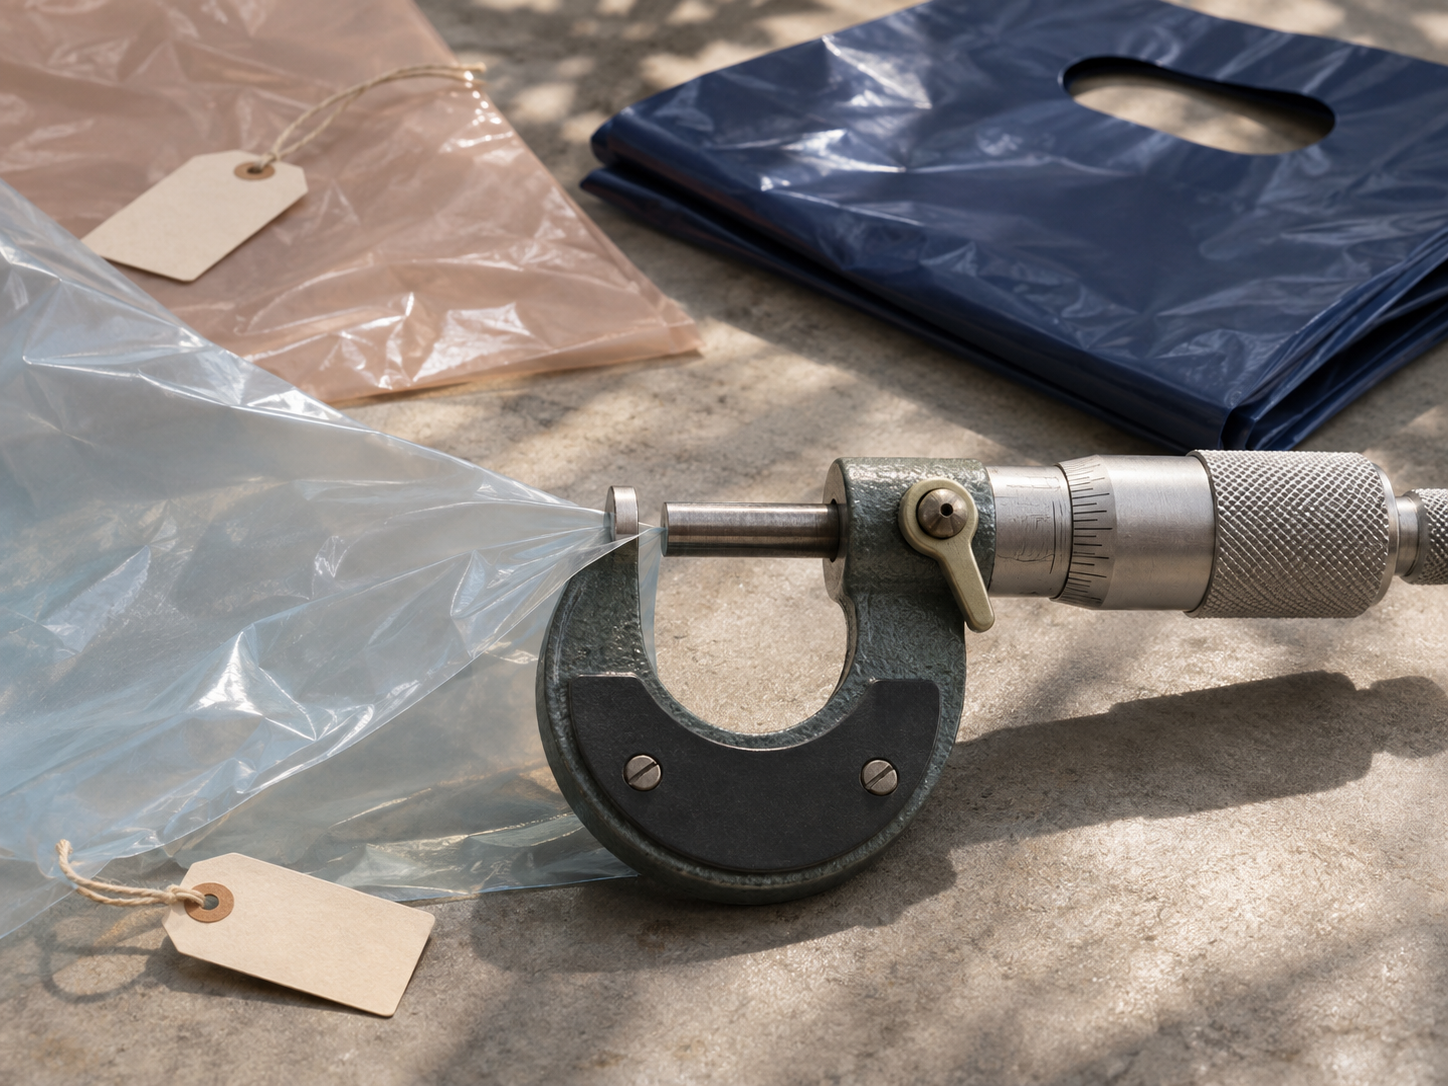
The plastic bag thickness printed on your spec sheet is a nominal target, not a guarantee. In real production, film thickness drifts across the roll, and a standard commercial tolerance is usually around ±10% (though you should always ask your supplier what tolerance they actually hold on the floor). It also helps to keep the units straight: 1mil equals 0.001inch, or 25.4μm (microns).
Here is why that tolerance band matters so much when downgauging.
Say you currently buy a 50μm bag with a ±10% tolerance. The bags sitting in your warehouse right now actually run anywhere from 45μm to 55μm. If a supplier pitches a “10% downgauge” to a 45μm nominal spec, your new production range drops to 40.5μm–49.5μm.
Look closely at those numbers: some of your current bags are already as thin as the proposed new spec, while the thinnest bags in the new batch will sit nearly 19% below your old target. When you test a thinner candidate, you need to know how it holds up at the bottom of that tolerance range, not just at the middle.
Before you even look at a thinner sample, lock down your baseline:
- Spot-check with a micrometer: Measure a handful of your current bags across the center panel and right near the handle zone (ISO 4593 and ASTM D6988 cover the standard ways to do this).
- Weigh 10 bags and divide: If the dimensions and resin stay the same, bag weight tracks thickness directly. Checking grams per bag on a digital scale is the fastest way to verify if a “10% thinner” bag actually uses 10% less material.
- Tag your reference samples: Pull a few good bags from current stock, label them with the date and batch, and lock them away for side-by-side comparison.
- Audit how the bag is actually used: Write down the heaviest typical multi-item purchase, how fast staff pack at peak hours, and whether cartons sit in hot warehouses or humid backrooms.
- Listen to store complaints: If staff are already double-bagging heavy items or complaining about static cling, a thinner film will almost certainly turn a minor annoyance into a daily failure.
Where Thinner Bags Usually Fail
When a downgauged bag fails in the real world, it rarely explodes down the middle of the panel. Problems show up in five predictable spots:
- The Handle Zone: Tears almost always start at the corners of a die-cut kidney hole or right where a patch/loop handle attaches to the body, because the entire load concentrates into a tiny cross-section of film.
- Side and Bottom Seams: Heat seals take a sharp shock whenever a customer lifts a loaded bag off the counter or drops it onto the floor. Thinner film leaves much less margin for sealing temperature errors on the converting line.
- Sharp Contact Points: Cosmetics boxes, hardcover books, and stationery corners act like wedges. If they don’t punch straight through a thin film, they stretch it into a white stress mark that splits two blocks away from the store.
- Necking and Stretch: Under load, thinner film elongates. Die-cut handles stretch into thin ropes that dig into the customer’s fingers, the bag mouth warps, and your printed logo distorts.
- Counter Handling and Opacity: Thinner film is noticeably limper. It can cling to itself, misfeed on dispenser racks, slow down checkout staff, and let dark product boxes show right through light-colored film.
The Six Side-by-Side Checks
You don’t need a laboratory to catch most bad bags. Run your current bag and the thinner candidate through these six practical checks on the same day, using the exact same merchandise.
|
Check |
What to Look For |
How to Test It on the Floor |
|
1. Fit and Loading |
Merchandise slides in smoothly without catching on the mouth or stressing the side gussets. |
Pack both bags with your bulkiest standard order at an actual checkout counter. |
|
2. Carrying and Grip |
Handles and upper film panel hold their shape under a heavy purchase without digging into the hand. |
Run the 5-minute carry, lift, and hang routine detailed in the next section. |
|
3. Seam Integrity |
Side and bottom seals stay completely shut under sudden jolts. |
Load the bag and lift/set it down firmly 10 times; inspect the seal edges for micro-splitting. |
|
4. Corner Puncture |
Box corners and rigid edges don’t poke pinholes or trigger a running tear. |
Pack a sharp-cornered product diagonally against the film, walk it around, and check the contact points. |
|
5. Checkout Speed |
Bags separate cleanly from the stack and open wide without static clinging or tearing at the lip. |
Have a cashier run through a full stack of 50 bags; count double-pulls, misfeeds, and frustration. |
|
6. Shelf Appearance |
Print registration, ink density, gloss, and concealment still match your brand standards. |
Hang both loaded bags side by side under your actual store lighting and check for show-through. |
Not every bag needs every check—if you sell soft knitwear, sharp box corners aren’t your main headache. Focus on the checks where your specific merchandise stresses the film.
Isolate the Gauge—or Know What Else Changed
When suppliers pitch a thinner bag that “feels just as strong,” they have usually changed more than the thickness.
Blending in higher-performance resins—like metallocene LLDPE (mLLDPE)—is a standard industry move to keep puncture and dart-impact strength high while dropping the gauge. That’s not a bad thing, and it often works well. However, changing the resin blend or switching from a mono-layer to a co-extruded film also changes the bag’s stiffness, crinkle noise, optical clarity, sealing behavior, and raw material cost per kilo.
If you want to test purely whether your current bag can survive a thinner gauge, make sure the dimensions, resin recipe, handle construction, and ink coverage stay identical. If the supplier did upgrade the resin blend to make the thinner gauge work, treat it as a brand-new bag specification—and make sure they lock that exact resin blend into your contract so it doesn’t quietly revert to standard LLDPE on the third reorder.
How to Run a Carry Test (and Why 20 Bags Isn’t Enough)
To take guesswork out of the carry check, put both bags through a fixed stress routine. Here is a practical baseline you can adapt to your store:
- Load both bags with your heaviest typical customer purchase.
- Carry them by the handles along a normal walking route for 5 minutes.
- Lift each bag off the floor and set it down firmly 10 times.
- Hang both bags by their handles from a hook for 30 minutes.
Set your pass/fail rule before you start: zero handle tears, zero seam splits, zero corner punctures, and acceptable handle stretch compared to your current bag.
A word of caution on sample size: Testing 20 bags with zero failures feels reassuring, but statistically (using the Rule of Three at 95% confidence), 20 clean bags only proves that the true failure rate is somewhere below 15%. Testing 60 clean bags brings that ceiling down to about 5%, and proving a failure rate under 1% takes roughly 300 bags.
You don’t need to hand-carry 300 bags around your office. Instead, use the 20-bag bench test as a fast screen to weed out weak candidates. If a bag passes the bench screen, validate it with a store pilot: send two or three cartons made on the actual production line to a couple of busy stores for a month, and have staff tally every torn handle or double-bagging incident.
What Lab Test Reports Do (and Don’t) Tell You
Suppliers love attaching film data sheets to quotes. They are useful for raw material quality control, but none of them test a finished bag. Here is how to read the three most common ASTM methods when someone drops them into an email:
- ASTM D882 (Tensile Strength & Elongation): Measures how much force it takes to pull a narrow strip of raw film apart, and how far it stretches before snapping. What it misses: It tells you nothing about whether a die-cut handle corner will tear out or whether the side heat-seal was burned too thin during converting.
- ASTM D1709 (Free-Falling Dart Impact): Drops a weighted round dart onto taut film to see what weight causes 50% of samples to fail. What it misses: Dart impact doesn’t scale linearly with thickness, and a smooth round dart hitting flat film does not mimic a sharp cosmetic box corner grinding against a swinging bag seam.
- ASTM D1922 (Elmendorf Tear Propagation): Measures the force needed to continue a tear after a slit has already been made in the film. What it misses: Tear numbers across different thicknesses and resin blends aren’t directly comparable on paper, and some high-stretch films can post tricky lab numbers while still deforming badly at the handle.
Whenever a supplier cites an ASTM standard as proof that a thinner bag works, ask three questions: Was this tested on your stock resin chart or on the actual film extruded for our bag? How many samples were run? And can we still test 50 finished bags off the converting line?
Run the Real Math: Price Bought vs. Cost Intact
A 10% reduction in film thickness almost never gives you a 10% drop in bag price. Resin is the largest single cost component, yes, but extrusion energy, printing plates, ink, handle patching, carton packing, and ocean/truck freight stay virtually identical. Always ask for both the price per 1,000 bags and the net weight per 1,000 bags side by side.
More importantly, stop looking at the price per 1,000 bags purchased and look at the cost per 1,000 bags that make it to the customer intact.
Let’s look at how fast the math can turn against you on a typical order: * Your current 50μm bag costs $60per1,000. * The proposed 45μm bag costs $54per1,000. * Your gross savings: $6per1,000bags, or $0.006 (six-tenths of a cent) per bag.
Now, what happens when a bag splits at the register or in the parking lot? Between pulling a replacement bag, taking up two minutes of cashier time, double-bagging the next five orders out of caution, and irritating a paying customer (even before counting damaged merchandise), a single failed bag easily costs a retailer $0.50 in friction and waste.

At just 12 extra failures per 1,000 bags—a mere 1.2% failure rate—your entire $6 savings is wiped out. If you sell fragile glass cosmetics or high-ticket gifts, a single broken item destroys the savings of ten thousand thinner bags.
Before signing off on the savings, also factor in: * Did the supplier switch to a pricier mLLDPE resin blend that eats up half the weight savings? * Does the thinner film require a higher Minimum Order Quantity (MOQ) to run stably on their extruder? * What is your transition plan for running down existing stock without mixing gauges in the store?
Watch Out for Legal Thickness Thresholds
Sometimes the lab tests and the math both work, but the law says no. Across major retail markets, plastic bag regulations use film thickness as the legal dividing line between banned, taxed, or reusable categories:
- European Union: Under the EU Packaging and Packaging Waste rules (Directive 94/62/EC and subsequent updates), carrier bags under 50μm are classified as “lightweight plastic carrier bags,” subjecting them to strict national consumption targets, mandatory customer charges, or outright phase-outs. Dropping from 52μm to 45μm can suddenly push your bag into a restricted tax bracket
- United States (State & Local Bans): In jurisdictions where reusable plastic bags are permitted or regulated by thickness (such as legacy 2.25mil / ∼57μm reusable standards in various US municipalities, alongside rapidly evolving state bans like California’s SB 1053 shifting rules entirely), crossing below a thickness floor—even on a single bag at the bottom of your tolerance band—can make the whole shipment non-compliant.
Always verify the exact regulatory threshold in every region where your stores operate before approving a micron change.
Smarter Ways to Cut Plastic Without Thinning the Film
If your goal is hitting a sustainability target or trimming material spend, shaving microns off the entire bag body is often the highest-risk way to do it. Often, you can pull out more plastic with zero drop in performance through structural tweaks:
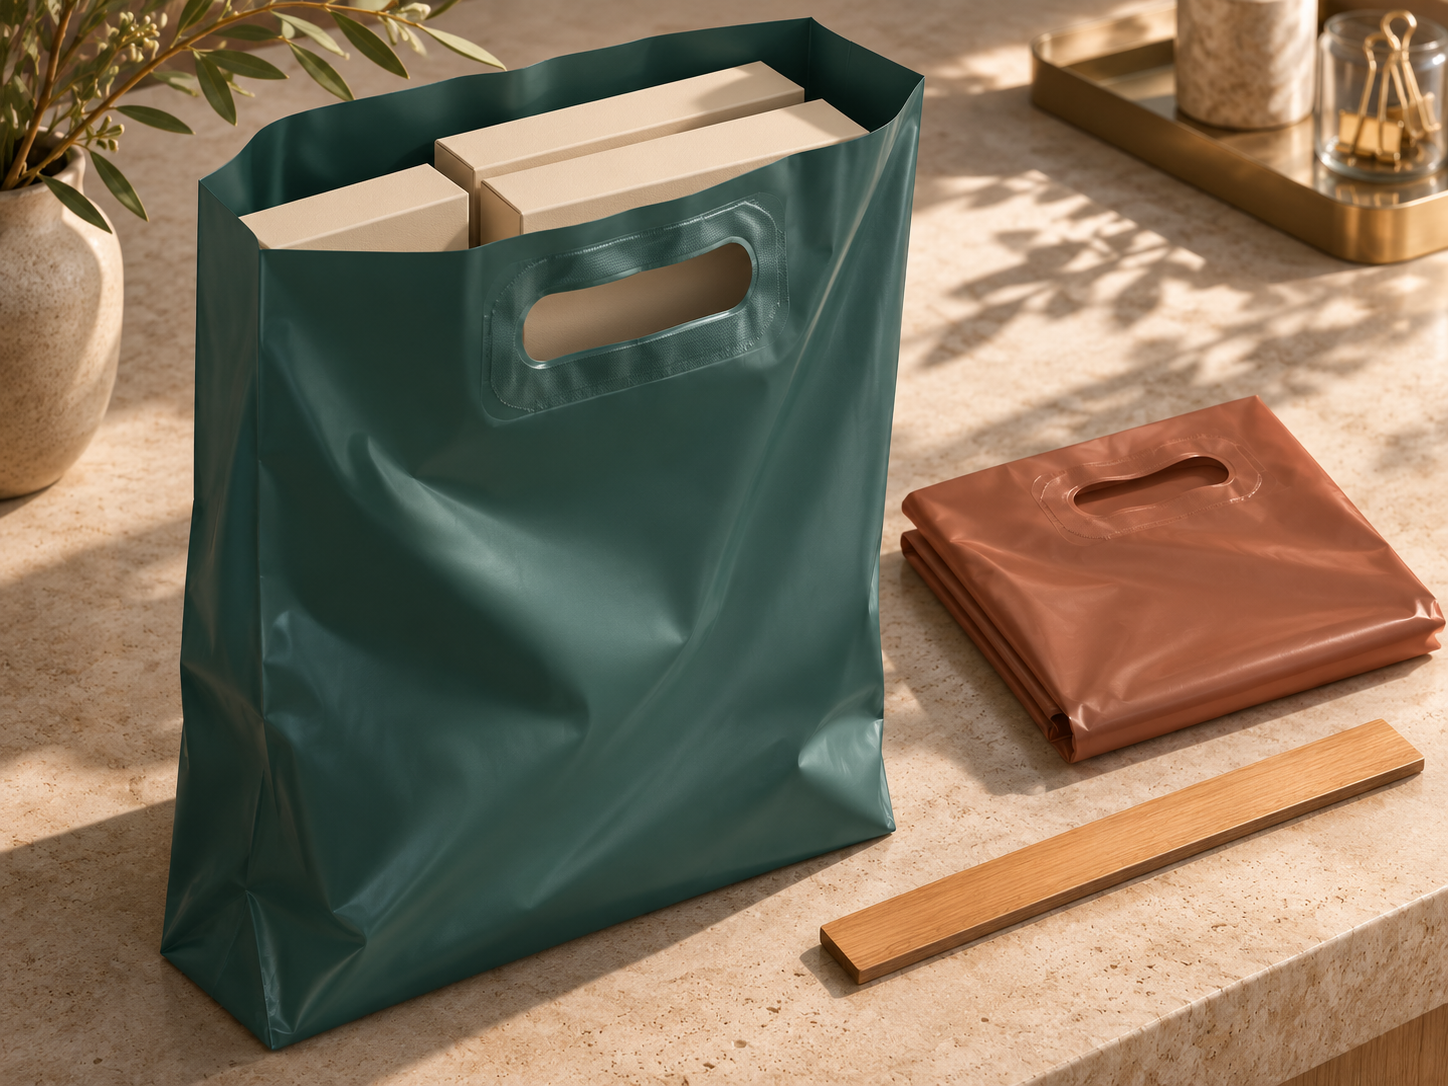
- Right-size the dimensions:Many retail bags are oversized by habit. Trimming both the width and height by just 10% removes 19% of the plastic weight immediately—while keeping the full original film thickness and puncture resistance.
- Reinforce the stress zone: Drop the body gauge slightly, but add an internal heat-sealed patch handle or a fold-over reinforced top hem so the carry zone stays thick where the load actually sits.
- Change the handle style: Switching from unreinforced die-cut bags to soft loop handle bags or patch-handle bags changes how weight distributes across the upper panel, letting the body film work much less hard.
- Split your SKU sizes: Instead of forcing one compromise gauge to handle everything from a lipstick to three boxed candle sets, keep a stout gauge for your large multi-item bag and downgauge only your small single-item checkout bag.
What to Put in Your RFQ (So Quotes Are Apples-to-Apples)
When you ask a supplier to quote a thinner alternative, require these eight details in writing on the quote sheet:
- Nominal thickness and exact tolerance (±μmor%): Along with the standard test method they use to verify it.
- Target gram weight per bag (and per 1,000 pcs): Plus full dimensions including width, height, bottom/side gusset, and handle cutout size.
- Full resin specification: Exact blend ratios (HDPE, LDPE, LLDPE, mLLDPE) and percentage of Post-Consumer Recycled (PCR) or Post-Industrial Recycled (PIR) content, noting any change from your current spec.
- Handle & seal construction: Patch thickness and dimensions (if applicable), plus side/bottom seal type and seal width.
- Production-line samples: Insist on samples pulled from an actual commercial extrusion and converting run—handmade lab samples almost always perform better than what comes off a high-speed machine at scale.
- Print and packing specs: Confirm whether ink opacity, corona treatment, or master carton counts change with the thinner film.
- Side-by-side commercial terms: Price per 1,000, weight per 1,000, lead time, and MOQ for both your current gauge and the proposed thinner gauge.
- Actual batch test data: If they cite ASTM numbers, ask for the specific test report showing sample count and average/minimum values for that exact film formulation.
How This Plays Out in the Real World: Boxed Stationery
To see how fast a structured check pays off, take a common retail scenario.
A stationery brand packs gift sets into a 50μm die-cut handle bag. Their supplier offers to drop the gauge to 45μm in the exact same resin and size to save 8% on unit cost. With unreinforced die-cut handle bags carrying rigid boxes, the handle corner is always suspect number one.
- The Check: Carrying and grip routine.
- The Load: Three boxed stationery sets (their heaviest standard holiday purchase, totaling 1.5kg).
- The Routine: 5-minute walk, 10 firm lift-and-sets, 30-minute hang on a hook.
- The Sample: 20 current bags (50μm) vs. 20 candidate bags (45μm), tested side by side on the same afternoon.
- The Pass Rule: Zero handle tears, zero seam splits, and no sharp box corners punching through.
- The Result: All 20 of the current 50μm bags survived intact. On the 45μm bags, 3 out of 20 failed—all three started as small tears at the edge of the die-cut handle hole during the 10 lift-and-set jolts.
- The Call: Reject the plain 45μm spec. The buyer went back to the supplier with two options: quote a 45μm bag with an internal reinforcing patch at the handle, or keep the 50μm gauge and trim 15mm off the bag width instead. No time was wasted running the other five checks until the handle issue was solved.
Making the Final Call
A thinner bag can be a smart commercial move—as long as you test it like one before signing off on the purchase order. When the bench tests pass, the store pilot runs clean without cashier complaints, and the unit math still makes sense after factoring in real-world breakage, lock the exact resin, gauge tolerance, and gram weight into your master spec sheet.
Weighing a thinner spec right now? If a supplier has pitched you downgauged custom plastic shopping bags and you want a second set of eyes on the numbers, send us your current spec sheet, a couple of reference samples, and a quick note on what you pack inside. We’ll run through these checks with you, measure the actual film thickness and weight, and tell you plainly where the risks are before you commit to a production run.
Reach out directly to alfredren@huayuepack.com or connect with us through Huayue’s contact page—even if you only have half the specs on hand, we can help you fill in the blanks.
Packing Solutions
Related Products




Tel: +86 18019228135
E-mail: alfredren@huayuepack.com
Address: No.228 ZhaiXing Rd, XinSheng Industrial zone, ZheLin Town, FengXian District, ShangHai, China.

Copyright © 2026 Huayue Group Plastic Packaging Manufacturers
